Creating clay pumpkins as decorations for the Harvest Festival is a fun and creative DIY project that can add a festive touch to your home. Here’s a step-by-step guide on how to make clay pumpkin decorations for the Harvest Festival:
Materials Needed
- Air-dry clay (orange and green)
- Rolling pin
- Pumpkin-shaped cookie cutter (or you can freehand the shape)
- Craft knife
- Craft paint (optional)
- Paintbrushes (optional)
- Twine or ribbon (optional)
Instructions:
- Prepare Your Workspace: Ensure you have a clean and spacious workspace to work on your clay pumpkin decorations. Cover your work surface with wax paper or a plastic sheet to prevent the clay from sticking.
- Roll Out the Orange Clay: Take a piece of orange clay and use a rolling pin to roll it out to your desired thickness. Typically, a thickness of around 1/4 to 1/2 inch works well for clay pumpkins.
- Cut Out Pumpkin Shapes: Use the pumpkin-shaped cookie cutter to cut out pumpkin shapes from the rolled-out orange clay. If you don’t have a cookie cutter, you can freehand the shape using a craft knife.
- Create Indentations: Use the craft knife or other shaping tools to create indentations on the clay pumpkins to mimic the ridges and lines of a real pumpkin’s surface. Be creative and make each pumpkin unique.
- Add a Stem: Take a small piece of green clay and roll it into a stem shape. Attach the stem to the top of each pumpkin.
- Allow to Dry: Place your clay pumpkin decorations on a flat surface and allow them to air-dry completely. This may take a day or more, depending on the thickness of the clay. Follow the drying time instructions on the clay packaging.
- Paint (Optional): If you want to add some color to your clay pumpkins, use craft paint to paint them. You can paint the entire pumpkin or just add details like eyes, nose, and mouth for a Jack-o’-lantern effect.
- Add a Hanger (Optional): If you want to hang your clay pumpkins as decorations, create a small hole near the top of each pumpkin while the clay is still soft. Once the clay dries, thread a piece of twine or ribbon through the hole for hanging.
- Display Your Clay Pumpkins: Once your clay pumpkins are completely dry and any paint is dry, you can display them around your home as festive Harvest Festival decorations. Place them on tables, mantels, or hang them as desired.
- Enjoy the Harvest Festival: Your handmade clay pumpkin decorations will add a charming touch to your Harvest Festival celebrations. Enjoy the festivities and the warm, inviting atmosphere they create in your home.
Feel free to get creative with your clay pumpkin decorations, adding your own unique touches and designs to make them stand out at the Harvest Festival.
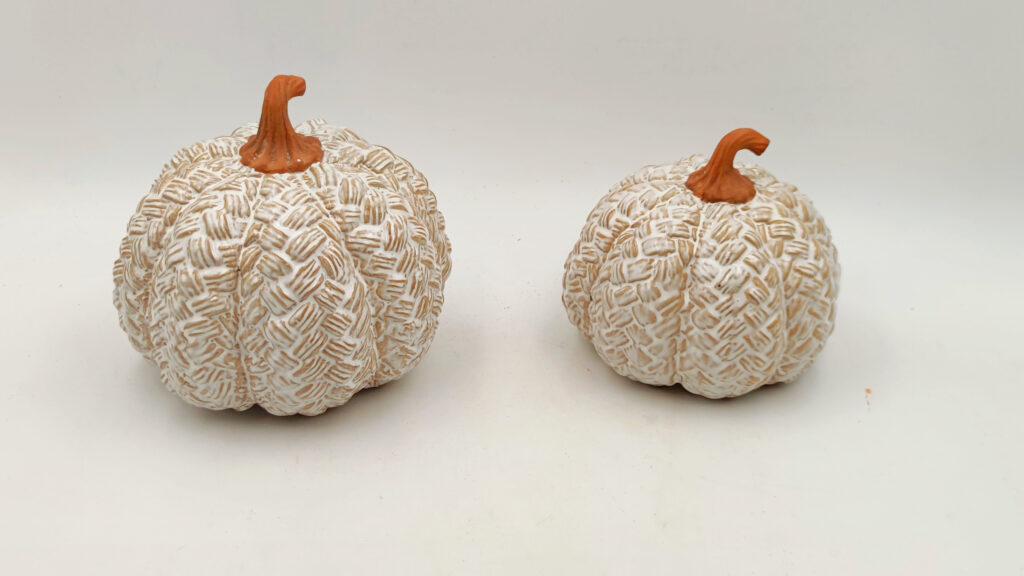
Of course, if you don’t have the time to make a clay pumpkin by hand, click here and we will provide you with ready-made ceramic pumpkins in a variety of styles to choose from.